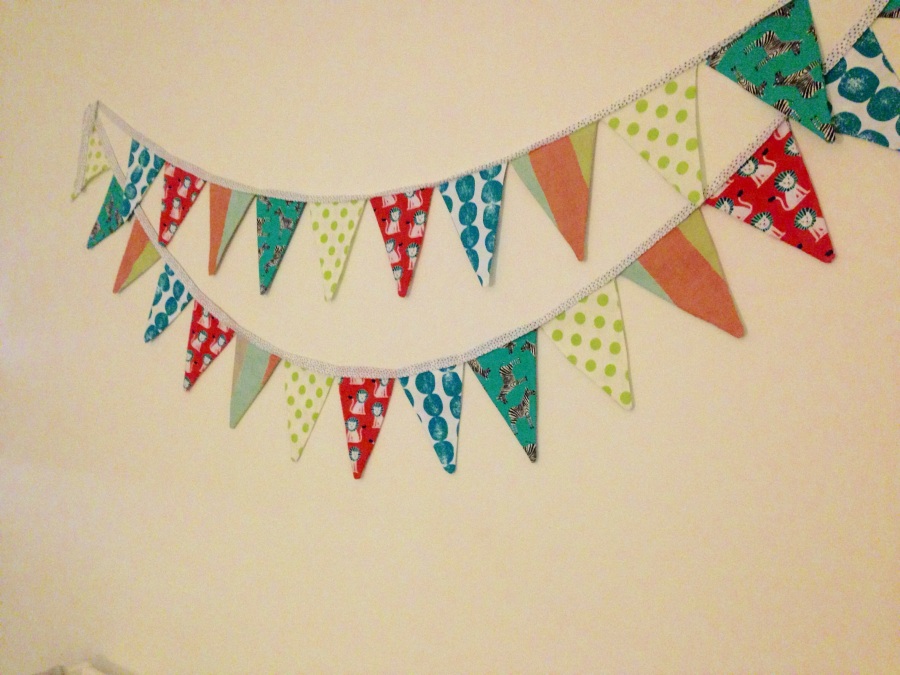
 This is a great project, even for a beginner. If you can cut triangles and sew in a straight line, you have all the skills you need. I prefer sewing it, but you could use Stitch Witchery in a pinch. We hung ours in our son’s nursery as a solution to a blank wall (we aren’t comfortable hanging pictures or frames above his crib). I think it turned out great, don’t you?
My favorite part of this project is picking out fabrics. I love going to JoAnne’s and browsing, but this time I ordered online from Hart’s Fabric. It was my second awesome experience with the company. It has really fast shipping and tons of adorable textiles. (I am not affiliated with Hart’s Fabric in any way. I’m just a happy customer.)
I chose zebras, lions, and a variety of stripes and polka dots for this banner. The bias tape is white with black stars. I think mixing complementary colors and patterns looks best. Make sure you have some large patterns and some small, some busy and some simple.
DIY Fabric Pennant Banner
Supplies
Fabric- 5 patterns, one fat quarter in each print
Bias tape – 6 yards
Thread to match the fabric
Sewing machine (or Stitch Witchery)
Scissors
Pins
Cardboard or heavy stock paper
Instructions
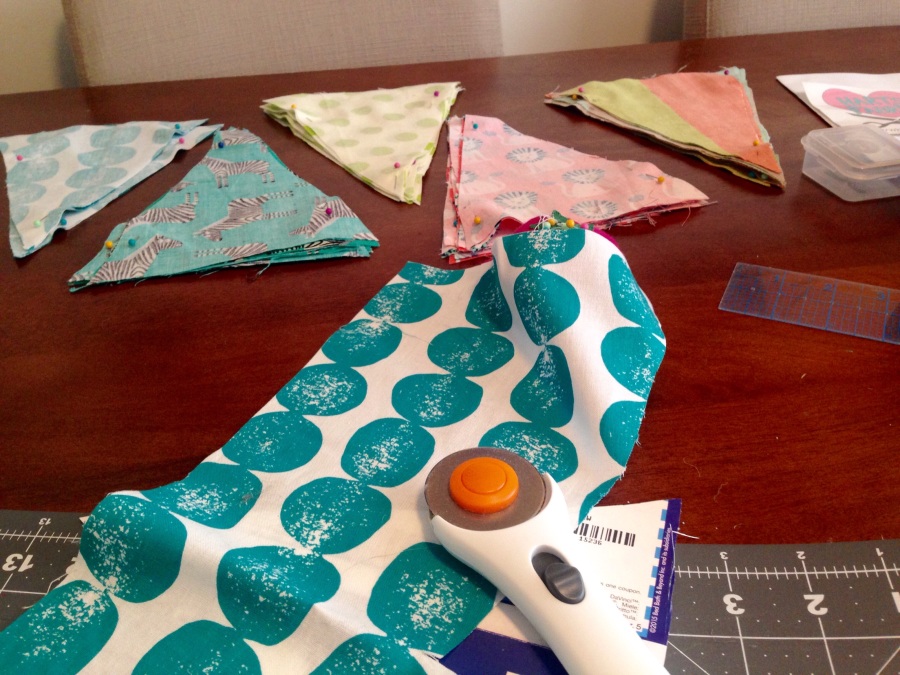
1. Make a template of a triangle to trace onto your designs. I made my pennants 9″ long and 7″ across. With these measurements I was able to cut 10 triangles from each fabric, or 50 total. This results in a finished banner with 25 pennants (each pennant requires two triangles of fabric).
2. Pin two triangles in each fabric together wrong side out. You will now have 25 pinned pennants, or 5 of each.
3. Sew both of the long sides of the triangles together, pivoting at the point. I use a 1/4 inch seam allowance as I usually just line up the edge with the presser foot. Leave the top of the triangles open so you can flip your fabric right side out.
4. Once you flip all your triangles right side out, grab your iron and press the fabric.
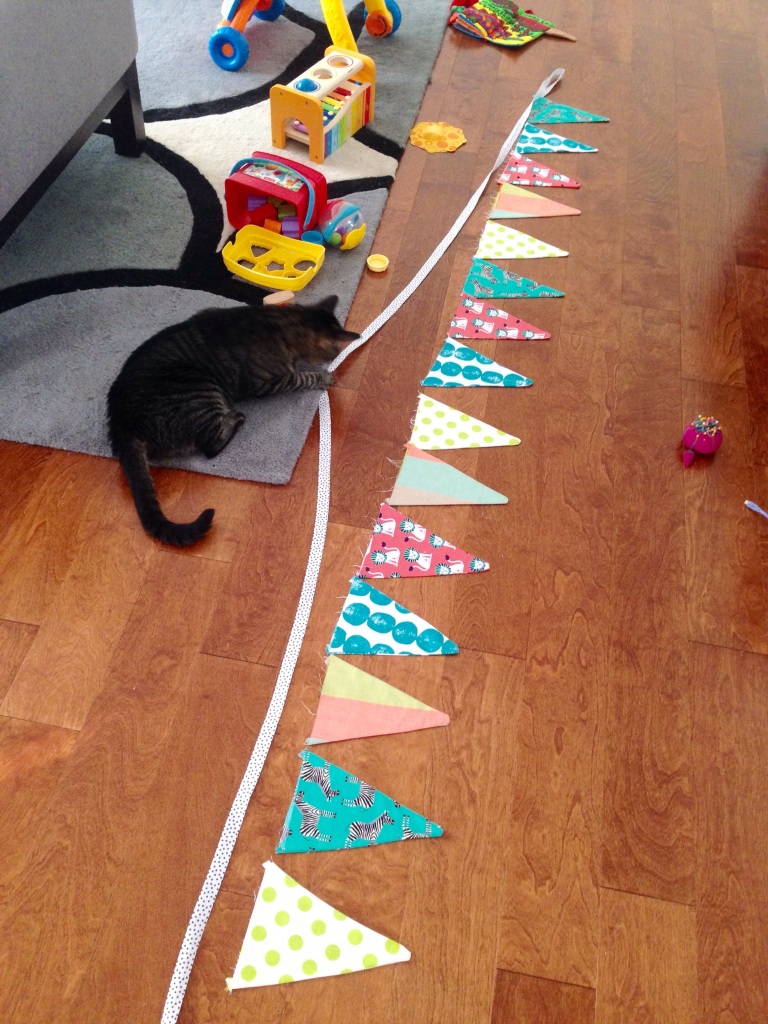
5. Lay out your triangles and arrange them in whatever order they look best. I don’t like following an exact pattern, but still pay attention to having too many prints next to one another.
6. Pin the triangles to the bias tape.
7. Sew the top of the triangles onto the biased tape using a zigzag stitch (or a double stitch, whichever you prefer). Tada! You’re all done!


I like what you made, you picked some lovely fabrics too!
So pretty!